How to Record Drums: Miking a Drum Set

Recording a full drum set and getting it to actually sound good is a true feat of engineering. It’s not nearly as simple as mounting some microphones around a room, pressing “record,” and laying down some killer grooves. Setting up microphones and dialing in sounds requires some research and A LOT of trial and error. But there are some fundamentals to keep in mind, which will help you avoid common obstacles beginners frequently encounter. Let’s cover some of the basics surrounding recording a drum set.
Types of Microphones
There are many different sizes, shapes, and functions (and prices!) of microphones, and recording a drum set is best accomplished by using a collection of microphones that are all geared toward capturing specific types of sounds. Generally speaking, there are three types of microphones: dynamic microphones, condenser microphones, and ribbon microphones. Most drummers with a home recording set up use a combination of dynamic microphones and condenser microphones. But what’s the purpose of having different types of microphones? What differentiates these categories from one another?
Dynamic Microphones
Dynamic microphones feature a wide diaphragm that allows them to effectively capture low to mid-ranged frequencies. They’re often the go-to choice for recording snare drums, tom-toms, and bass drums. Dynamic microphones come in a variety of sizes, each designed for a different function, which allows recording engineers to outfit a drum set with microphones that best capture the frequencies produced by each drum.
Wider diaphragms are able to more effectively capture lower frequencies. Bass drum microphones typically have a very wide diaphragm, which picks up both the low-end frequencies of the kick drum, as well as the mid-range frequency of the beater striking the head. Recording engineers will often use bass drum microphones to record floor toms, too. Dynamic microphones with a smaller diaphragm work well for recording snare drums and toms with a medium to high tuning.
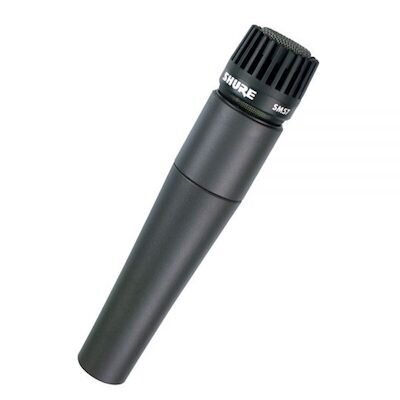
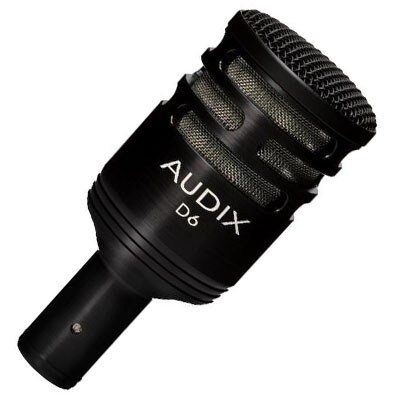
The Shure SM57 (below left) is an industry standard when recording drums and is an ideal choice for the snare drum, and even the tom toms in a pinch. The Audix D6 (below right) is a good pick for bass drums and floor toms due to its wide diameter and flat shape.
The energy of sound hitting the diaphragm of dynamic microphones generates enough power to convert that sound into a digital signal so no outside power source is required for a dynamic mic to function. However, that means that they aren’t able to capture very soft sounds or very high frequencies. While dynamic microphones are the ideal choice for recording the drums, recording engineers rely on the higher sensitivity of condenser microphones to capture the sounds of the cymbals.
Condenser Microphones
Condenser microphones are far more sensitive than dynamic microphones when and are able to capture softer sounds and higher frequencies as a result. While there’s a wide array of condenser microphones, they can quickly become extremely expensive (over $5,000 for a single microphone isn’t uncommon) and they’re much more fragile than their dynamic counterparts. But like dynamic microphones, different sizes of diaphragms work better for capturing different parts of a drum set in a recording.
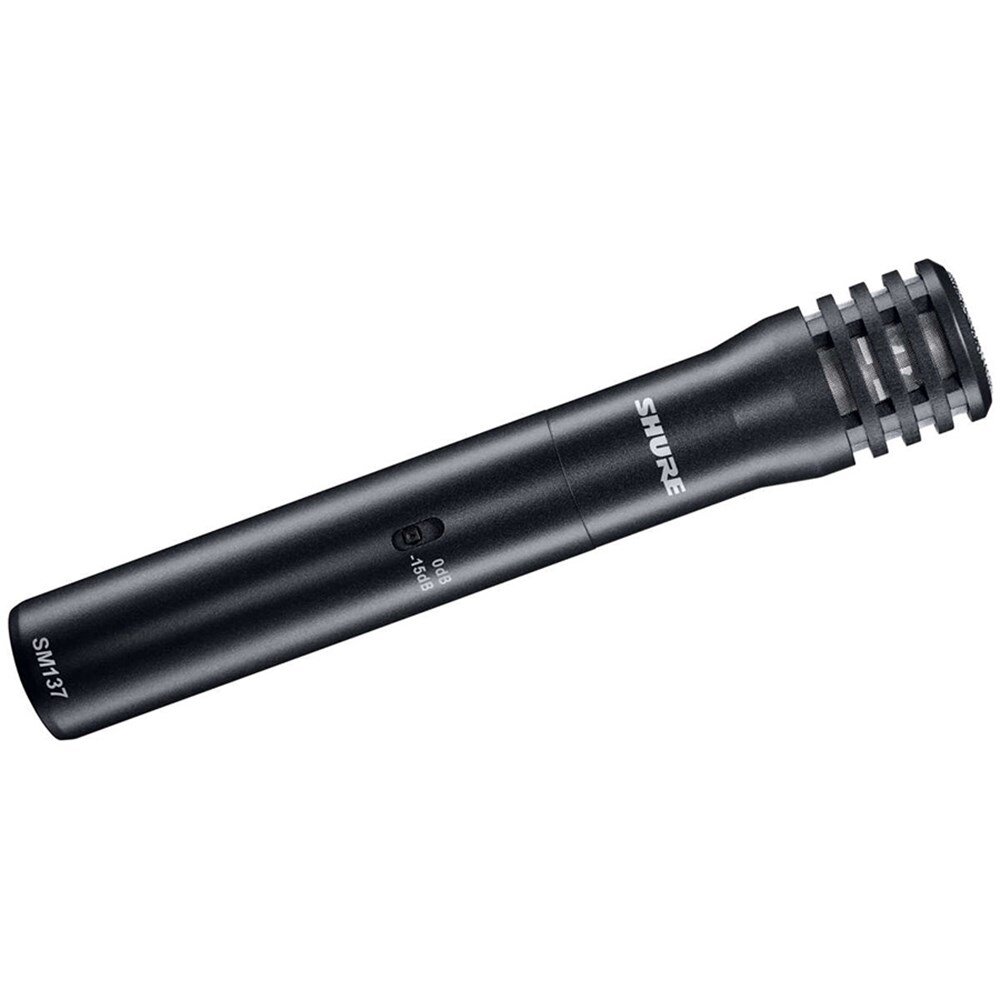
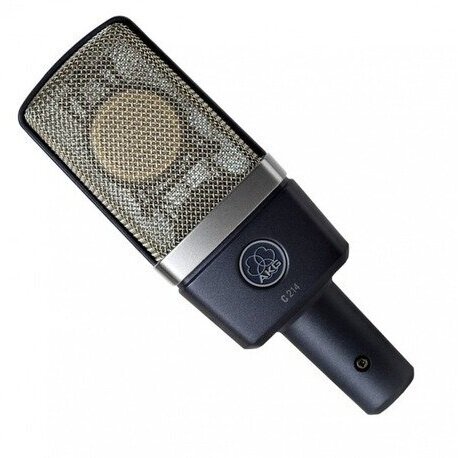
Condenser microphones are typically mounted over a drum set to capture the cymbals, and the higher frequencies produced by the drums. Microphones with a wider diaphragm don’t come cheap so many home recording setups make use of condenser mics with a small diaphragm, commonly referred to as “pencil condensers” (below left - a Shure SM137 is pictured). With their tiny diaphragm, they’re most effective at capturing the highest frequencies produced by a drum set while largely excluding the lower frequencies of the kick and floor tom. But condenser microphones with a larger diaphragm (below right - an AKG C214) are often preferable if they’re available since they can capture some of those lower frequencies, too. Condenser microphones act as a support system for the close mics on the drums so we want them to gather as much detail as possible. A larger diaphragm will effectively capture the cymbals, but also better fill out the tone of the kick and toms.
Unlike dynamic microphones, condenser microphones require a boost to their electrical signal in order to operate, known as phantom power. This additional power grants condenser microphones an unparalleled sensitivity compared to any dynamic microphone. Without it, the sounds recorded by condenser microphones would be practically imperceptible.

Ribbon Microphones
While you probably won’t ever own one of these, ribbon microphones (like the AEA R44CXE to the right) are in a category of their own. They capture sound using an extremely thin aluminum ribbon instead of a diaphragm. Like condenser microphones, they are incredibly sensitive and are able to capture an extremely wide range of frequencies. But their unique design and sound come at a steep price (a “cheaper” ribbon mic still runs about $1,000), relegating them primarily to professional recording studios. They’re also easily damaged if not handled with proper care and knowledge!
Now that we know what each type of microphone is best used for, let’s take a look at where exactly to place them in relation to the drums and cymbals to achieve the best possible recorded sound.
Microphone Placement
Aside from well-tuned drums and a skilled drummer that knows how to play them, microphone placement will be the single biggest factor in the overall quality of a raw recording. Subtle variations in distance and angle can capture different, and often undesirable, frequency ranges or resonances. Experienced recording engineers may even bust out a tape measure to ensure specific and consistent mic placement. While there are some general guidelines to keep in mind when placing microphones, trial and error will be the ultimate teacher.
Bass Drum
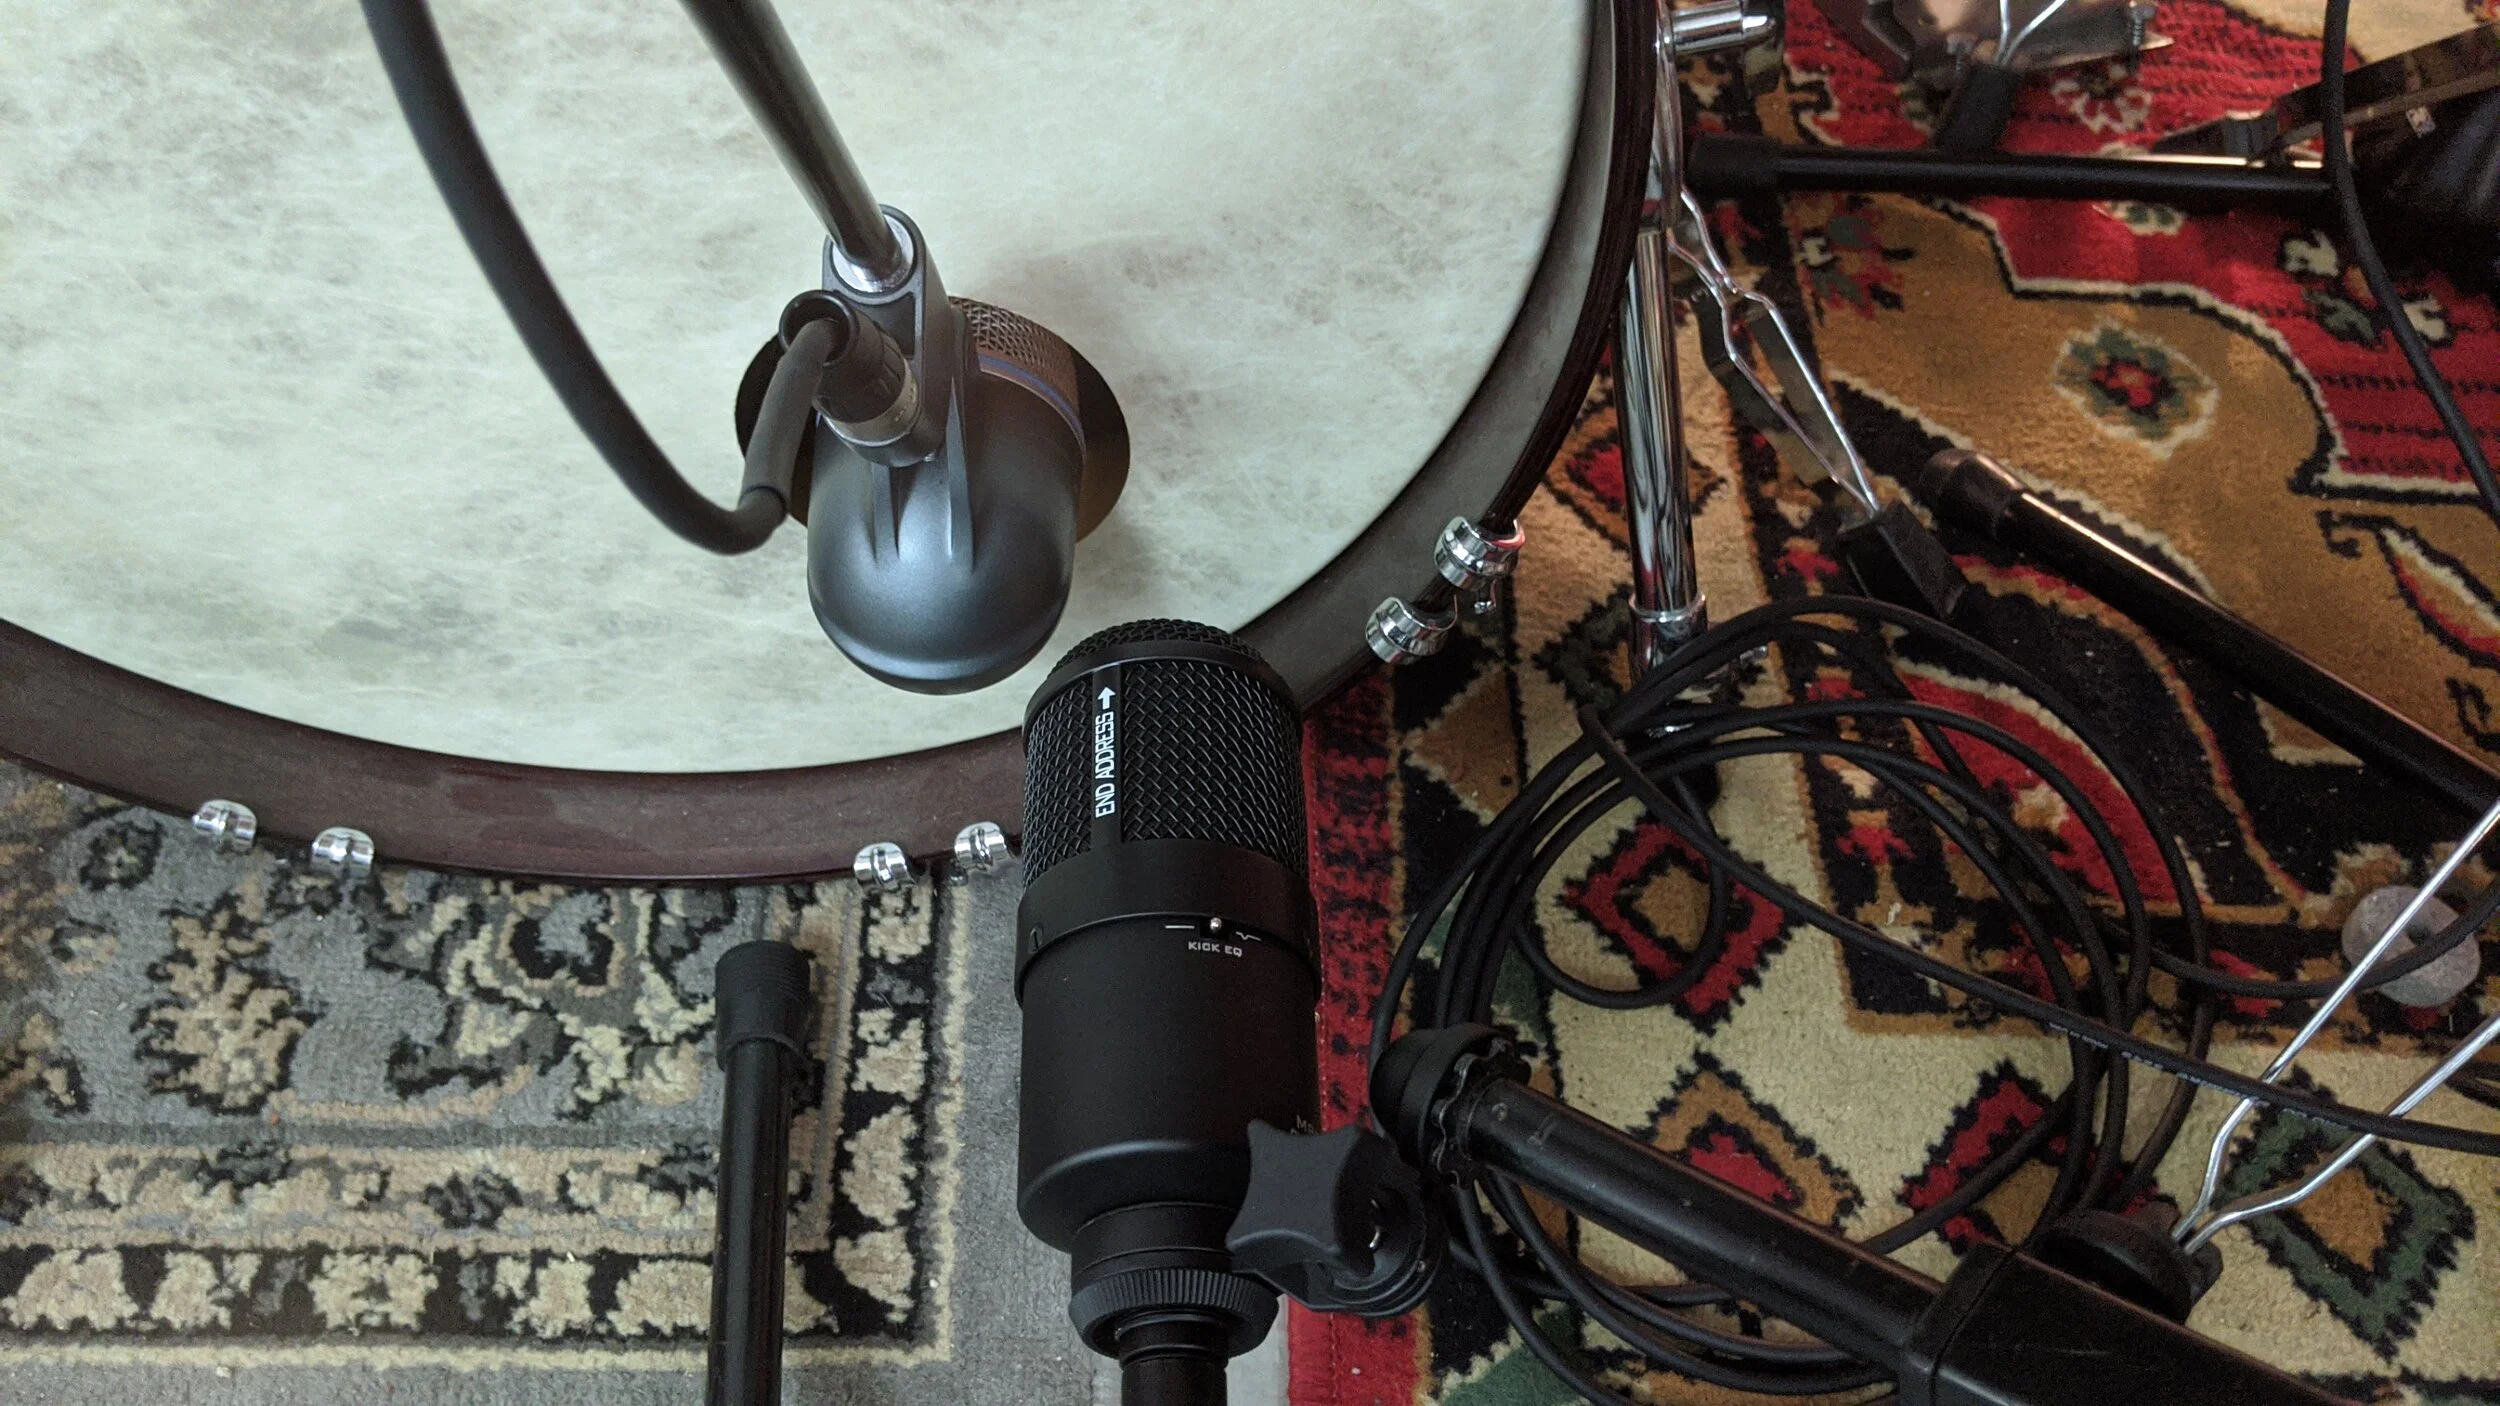
Dynamic microphones are the standard pick for recording bass drums, especially mics specifically designed to capture lower frequencies. These mics have a large diaphragm, enabling them to capture the low frequencies of the kick and the attack of the beater. You may have seen bass drums with an off-center hole cutout of the resonant head and thought, “What the heck is that for?” That hole is a microphone port, and allows recording engineers to place a microphone inside of the drum. The inner microphone is frequently pointed directly at where the beater makes contact with the head, or sometimes just off to the side of where the beater strikes. Mounting a microphone inside the bass drum best captures the sound of the beater striking the head, resulting in an articulate attack to support the boom of the shell.
Recording engineers will often place a second microphone just outside the bass drum, too. The outer microphone captures more of the drum’s projection, which are those warm, low end frequencies we associate with a chest-thumping kick. Placing the outer mic too far from the kick’s resonant head will result in significant mic bleed, which is where a microphone picks up the sounds of drums other than the intended source. Some bleed is inevitable, but we want to avoid it as much as possible. Mixing the recorded sounds of the two microphones gives the recording engineer total control over the kick’s articulation and sustain, making it easier to blend with the other drums.
Snare Drum
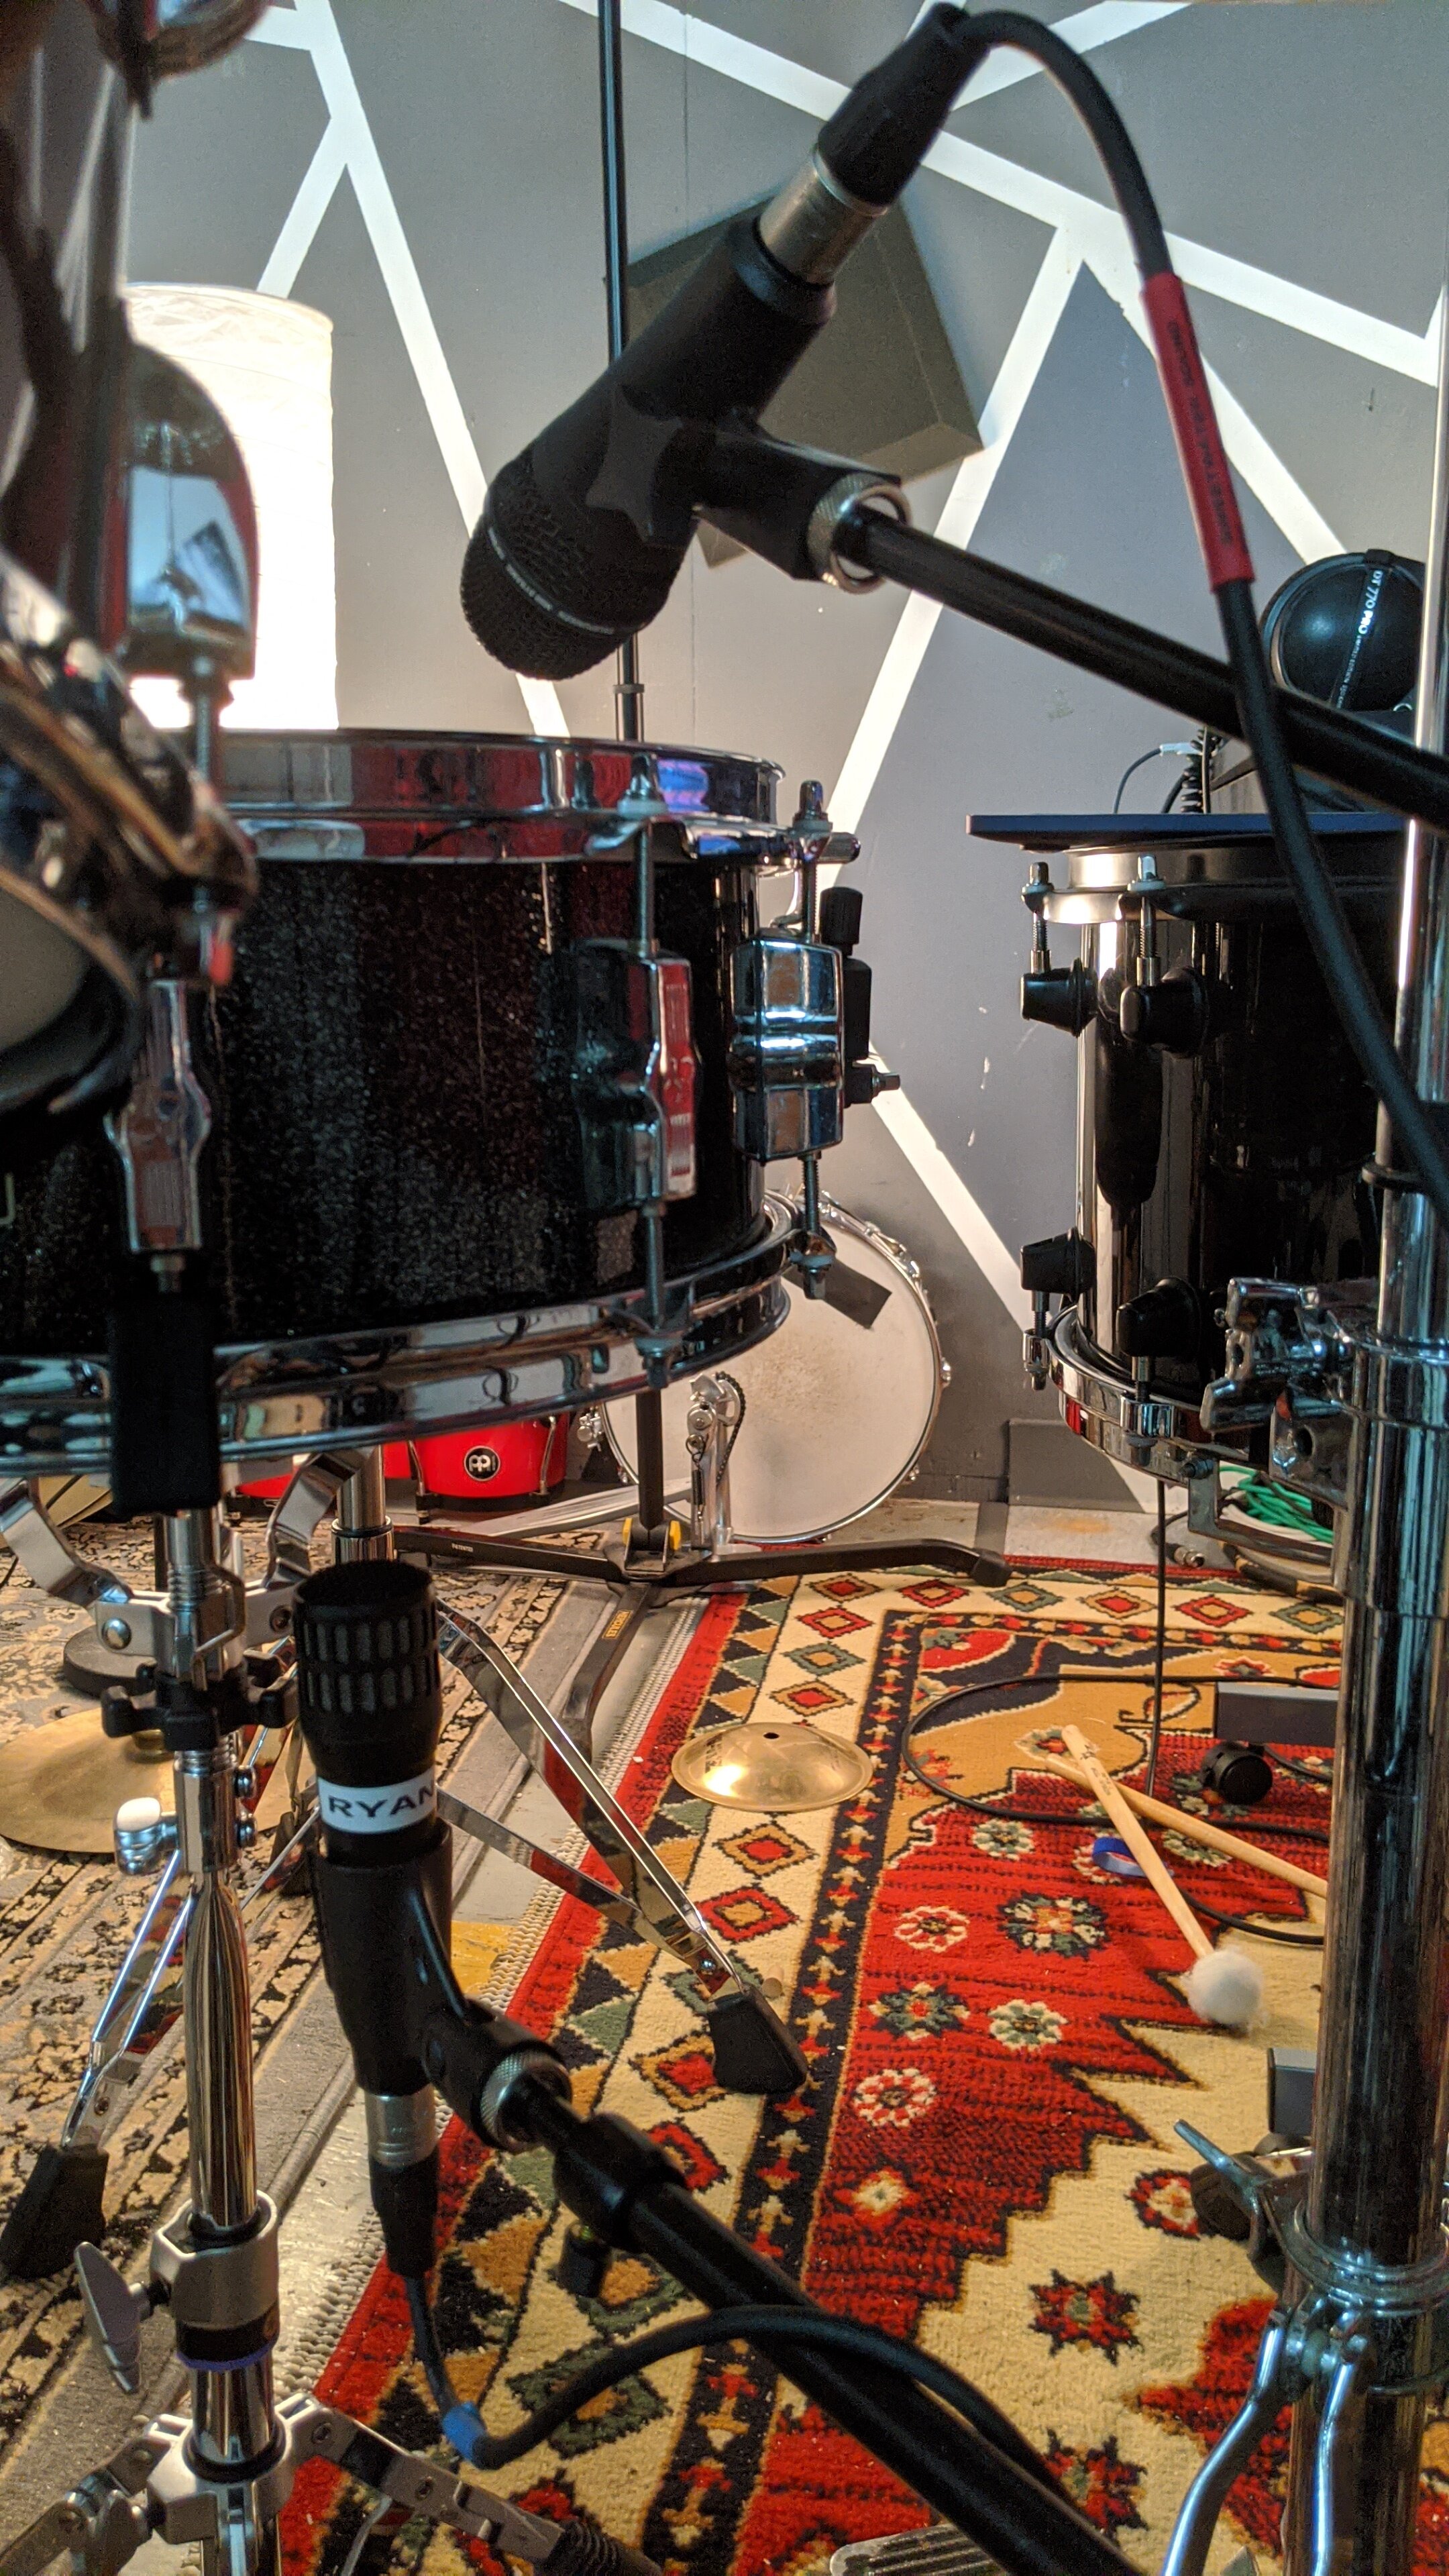
Like the bass drum, most recording engineers prefer to use multiple microphones on a snare drum to achieve a high-quality recording. A close mic, mounted no more than two inches from the batter head, is an absolute necessity for capturing the attack of the stick striking the head. The angle of the microphone will also have a large impact on the recorded sound. Aiming the microphone directly at the area where the stick contacts the head will provide a slightly more defined attack, while aiming straight down on the head will capture more resonant frequencies and overtones. You may encounter some unwanted ringing in your recording while searching for the proper angle, but that’s part of learning! Dialing in exact placement will depend on the tuning of the drum and the play style of the drummer.
A second microphone is often mounted underneath the snare drum, pointing up at the resonant head. This bottom mic captures the sustain of the drum and the sizzle of the snare wires. While not as crucial as the top mic, it really helps fill out the overall tone of a snare drum. Some recording engineers also mount a mic next to the snare drum to capture a bit more of the attack and some of the sustain, which supports the sounds captured by the top mic.
Toms-toms
Determining the ideal microphone(s) for recording the toms isn’t as straight forward since the toms cover a wider range of frequencies. Recording engineers may use one model of microphone on the rack toms and a different model better equipped to pick up lower frequencies for the floor tom, but the tuning of the drums will help determine which mics to use.
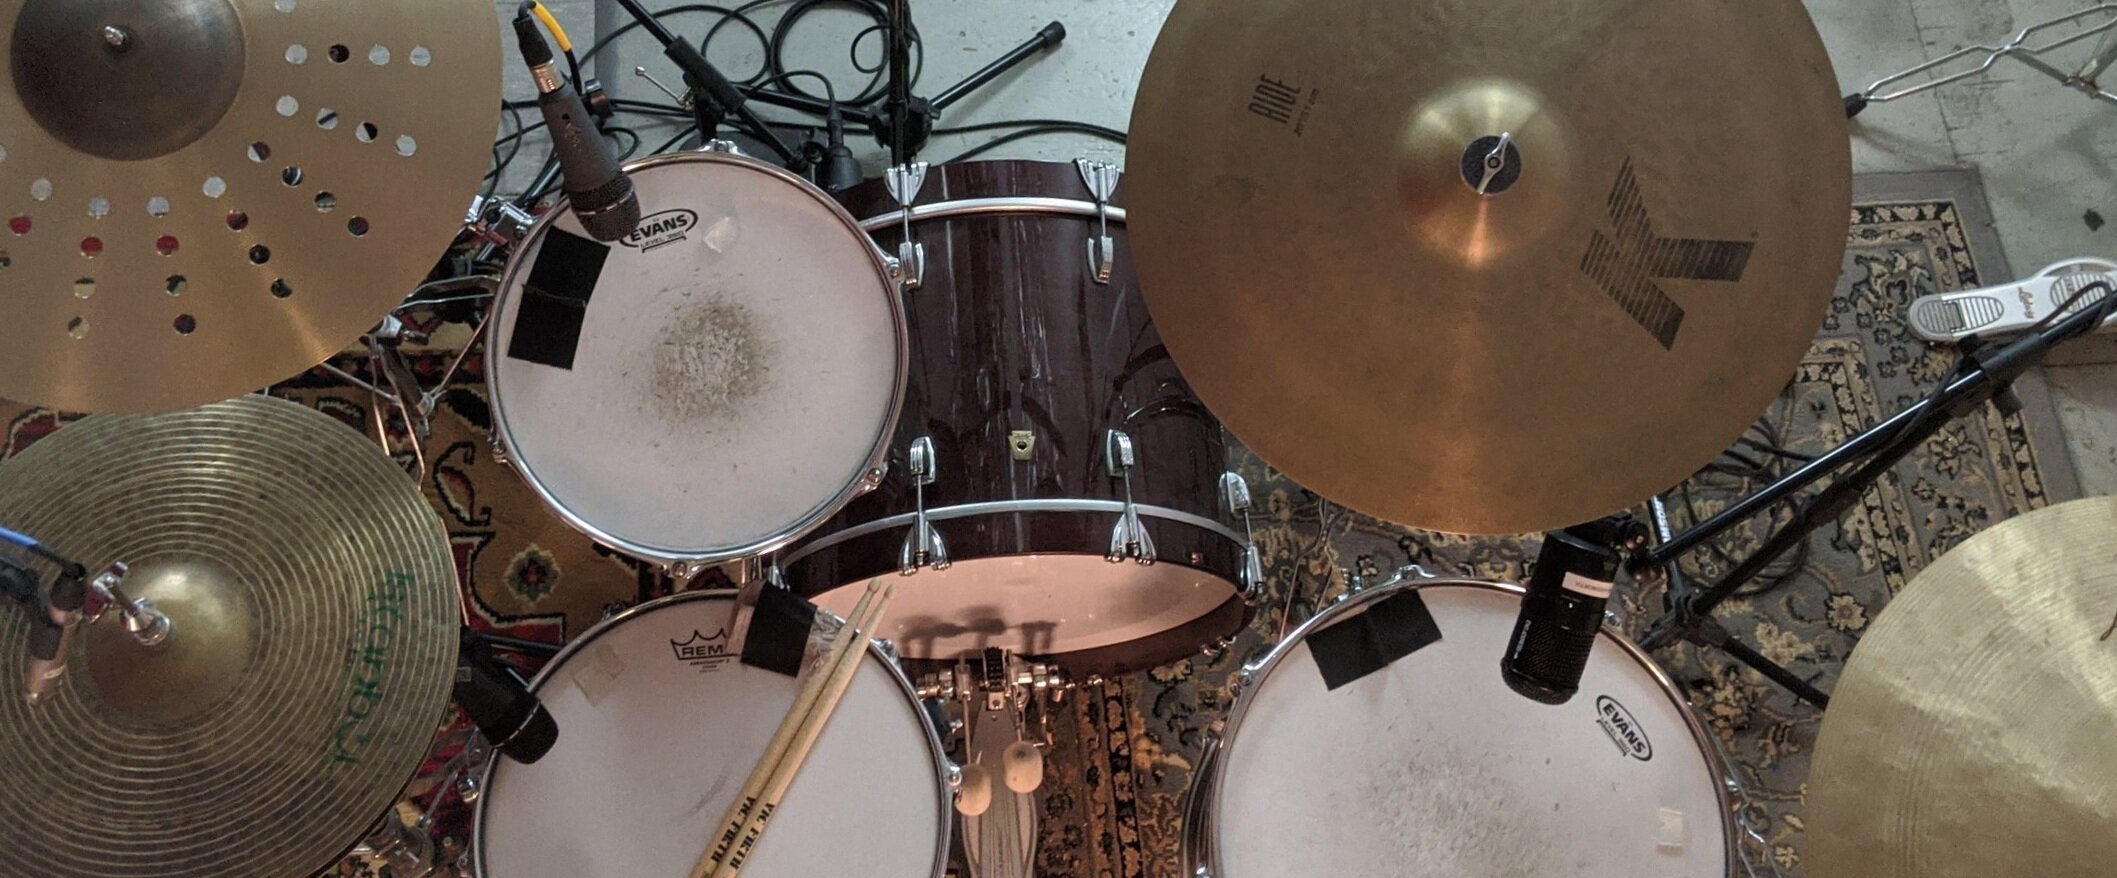
But of course, if you’re recording drums at home, your microphone options are likely pretty limited and you’ll need to make do with that you have. Generally, dynamic mics are used to record toms. Ideally, the floor tom is recorded with a microphone with a wide diaphragm, while microphones with a smaller diaphragm work just fine for the rack toms. Similarly to the snare drum, mics on the toms should be mounted no more than two inches above the batter head. Aiming the mic directly at where the stick hits may result in harsh spikes in a recording, so tom mics are generally aimed at an area between the center and edge of the head.
Cymbals and Room
While dynamic microphones are usually the ideal tool for recording the drums, condenser microphones are needed to capture the higher frequencies of the cymbals. However, due to their sensitivity, they also inevitably capture every other part of the drum set, so the overhead mics will have a HUGE impact on the overall sound of a recording.

It’s custom to use at least two overhead microphones to create a stereo image of the drum set. But using multiple microphones creates a new challenge: phasing. Ensuring microphones are in phase means that the diaphragms vibrate perfectly in sync with one another. If they are not in phase with each other, they can cancel out large bands of frequencies, which results in a sort of hollow recording that just doesn’t “sound right.”
To minimize phasing issues, recording engineers usually mount overhead mics equidistant from the snare drum. The easiest way to measure the distance from the snare to the overheads is to simply use a cable, as demonstrated in this short video. Since the cymbals cover the perimeter of the drum set, the mics need to be mounted relatively high in order to capture the sounds coming from both ends of the kit. They’re typically mounted roughly three feet from the snare, but mounting them further away will capture more of the “room” sound (the sound bouncing around the walls). If you’re just starting out with recording, use the overheads to split the drum set into thirds. Doing so creates a balanced, wide stereo image.
While it’s not possible to completely guarantee zero phasing between all the mics on a drum set, mounting them at proper distances and angles will minimize the risk and result in the best possible recorded sound.
Gear List
Recording setups vary widely and change depending on the desired outcome. But for a quick setup that works well for demos, scratch tracks, and experimenting, you’ll want to use a bare minimum of four microphones: an inner kick mic, a top snare mic, and a pair of overhead condensers. This setup covers the most essential parts of the drum set, but don’t expect professional-level quality. However, if more of a lo-fi sound is your thing, a minimalist setup can yield some interesting results.

Ideally, every drum will have at least one microphone on it, with the exception of the kick and snare, which commonly have two or more mics mounted on them. Just keep in mind that more microphones doesn’t automatically mean your recordings will sound better! Achieving higher quality recordings takes lots of practice and is absolutely a skill and art form in and of itself. Don’t get discouraged if your first recordings sound pretty bad. They’ll get better!
Here’s a list of all the gear shown above and isolated below:
Inner bass drum mic - Shure Beta 52
Outer bass drum mic - Telefunken M82
Snare bottom mic - Shure SM57
Snare top mic - Telefunken M80
Rack tom - Telefunken M81
Floor tom - Telefunken M82
Overheads - AKG C214
Recording interface - Roland Octa-Capture
What They All Sound Like
To demonstrate the sound of each part of the drum set when it’s properly mic’d up, Kyle laid down some phat beats. Everything is mixed together at the beginning, but then the focus shifts to only individual pieces of the kit. Every drum sounds a little different when it’s isolated compared to when you’re sitting behind the drums or standing next to someone playing.
No matter what recording gear you have, there’s no substitute for having a skilled drummer at the helm. Learn to be a drummer that people want on their recordings by scheduling a lesson with one of our awesome instructors!